Thursday 29 January 2015
Wednesday 28 January 2015
Final Design and Final Piece


In order to improve on the points I made on my previous design I decided to make the name of the coffee and the slogan more separate from the rest of the design. I did this by making a sticker like border. I drew a circle with the circle tool and added a slight bevel to make it look elevated.

This was my final design. I was really happy with the end result. As I have progressed through this project I have developed my ideas and themes into a packaging that presents coffee with a character!


Tuesday 27 January 2015
Final Designing
When I started designing my final piece I began by scanning in my previous hand drawn type and
images. I adjusted the threshold levels to make them clear for use on my packaging.


I used the outline of the chicken silhouette as a background for my packaging. I filled the outline in and began arranging where I wanted things on the page. I added guide lines so I knew where the different sides of the packaging were going to be. I realised that the position in which the chickens were in originally wasn't going to work, so I used the lasso tool in order to move chickens to the desired sections. I then went on to add clouds to the background in order to make it look more like a morning scene.


Once I was happy with the position of the components in the background I began adding my hand drawn type and images. At first I had trouble with deciding where the type should go. I wanted a busy page without taking the focus away from the background. Eventually I decided that I would leave the front relatively plain with the cockerel being the main subject and the name of the coffee packaging and a slogan on top. The back of the packaging would also be plain so a description of the coffee could be included. To create contrast between these two sides I decided that the less significant sections could be busier. I arranged the type so it looked interesting and included my hand drawn images of objects that fitted with my theme.


After I printed off the design and had actually built it, I decided there were some improvements I could make.

images. I adjusted the threshold levels to make them clear for use on my packaging.
I used the outline of the chicken silhouette as a background for my packaging. I filled the outline in and began arranging where I wanted things on the page. I added guide lines so I knew where the different sides of the packaging were going to be. I realised that the position in which the chickens were in originally wasn't going to work, so I used the lasso tool in order to move chickens to the desired sections. I then went on to add clouds to the background in order to make it look more like a morning scene.
Once I was happy with the position of the components in the background I began adding my hand drawn type and images. At first I had trouble with deciding where the type should go. I wanted a busy page without taking the focus away from the background. Eventually I decided that I would leave the front relatively plain with the cockerel being the main subject and the name of the coffee packaging and a slogan on top. The back of the packaging would also be plain so a description of the coffee could be included. To create contrast between these two sides I decided that the less significant sections could be busier. I arranged the type so it looked interesting and included my hand drawn images of objects that fitted with my theme.
After I printed off the design and had actually built it, I decided there were some improvements I could make.
Monday 26 January 2015
Prototypes


Saturday 24 January 2015
Copy and Emulate 2
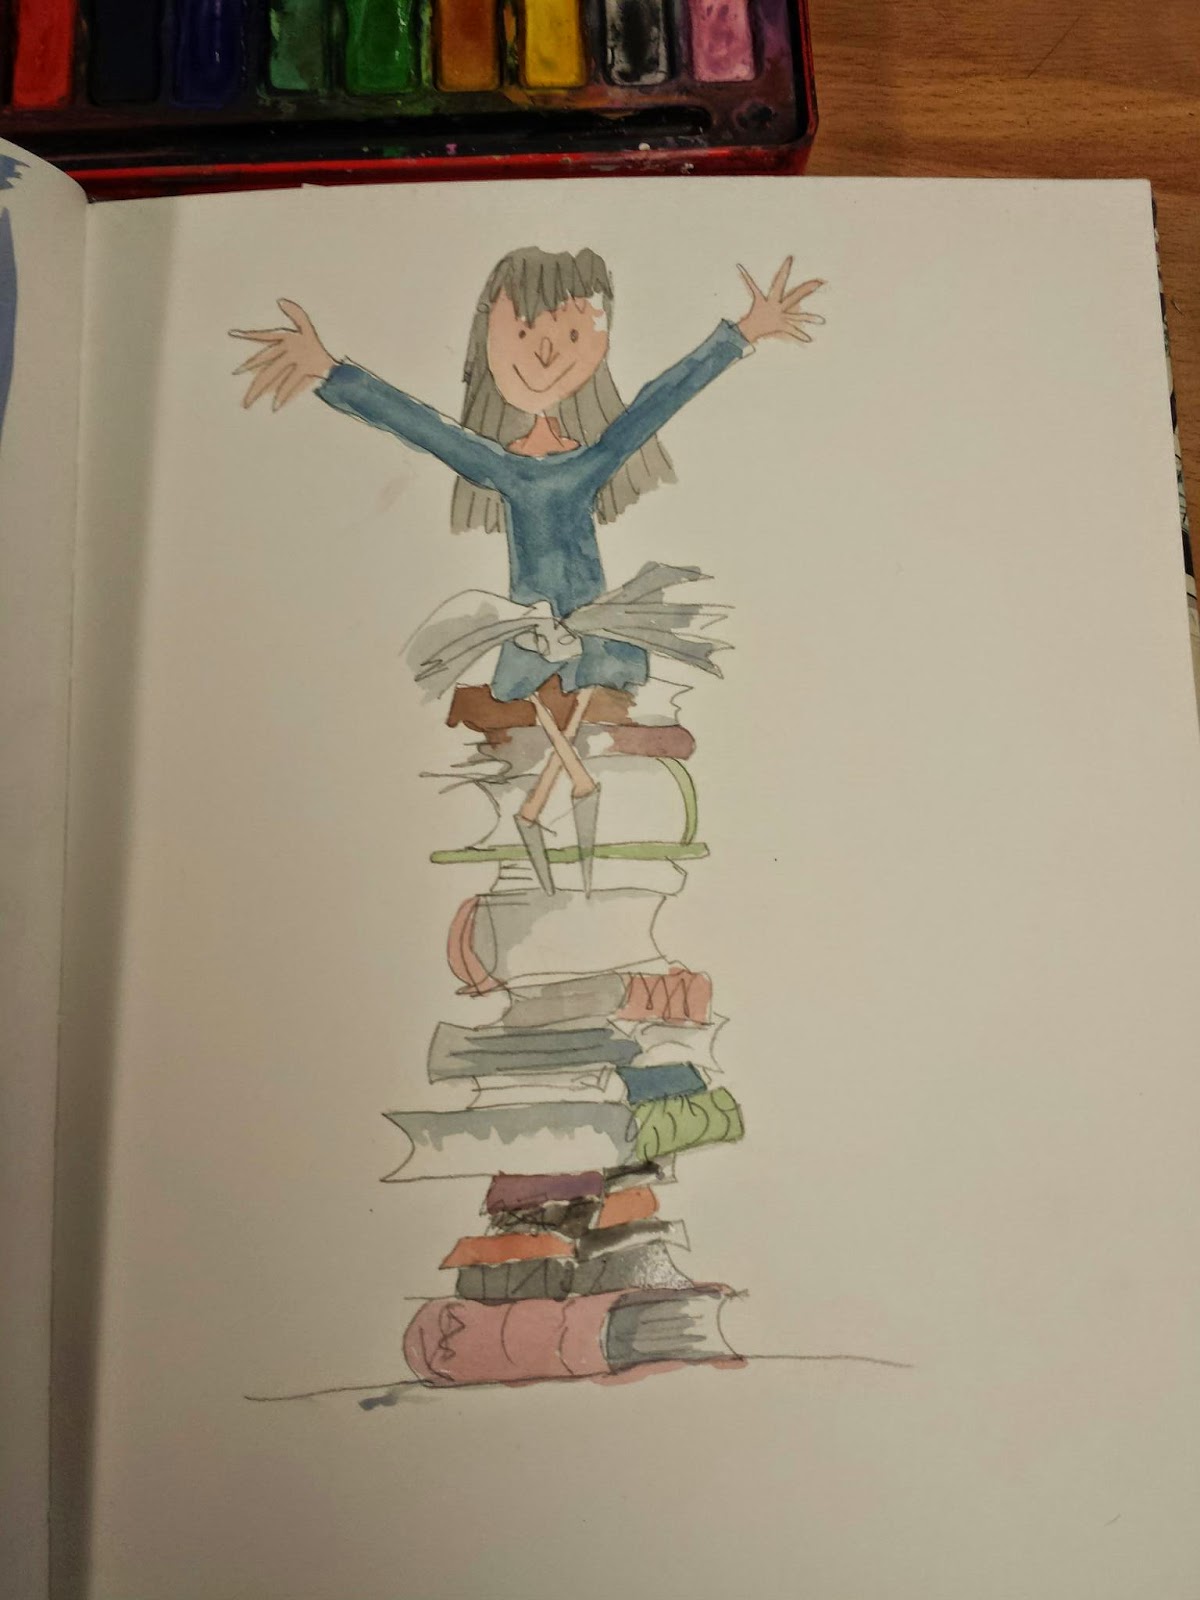
When gathering inspiration I looked at Quentin Blake's work. I did a copy of the character Mathilda. I began by drawing out the loose outline in pencil, I then filled in the block colours and went in later and added shadow. To finish it all I outlined the painting in fine liner. I was happy with the finished result and decided to do an emulation of his work with my own subject matter. I found that this also worked well and created quirky characters.


Friday 23 January 2015
Copy and Emulate
For my copy and emulate I chose an image of a moon. The original was a screen print, however I adapted this to my own abilities and decided poking holes so that light could show through would create the same effect.
 |
| Original Art Work |
When copying this art work I printed an image off and put it on top of a piece of paper. Where I wanted it to be lighter I poked more holes and where it was darker, less.
 |
| My Copy |


When emulating the work I decided to try it in reverse. I did it on white paper and poked more holes where I wanted it to be darker. I started by drawing a cup and adding shading so I knew where the dark and light parts were. I don't think this worked as well as on black paper.


Wednesday 21 January 2015

Subscribe to:
Posts (Atom)